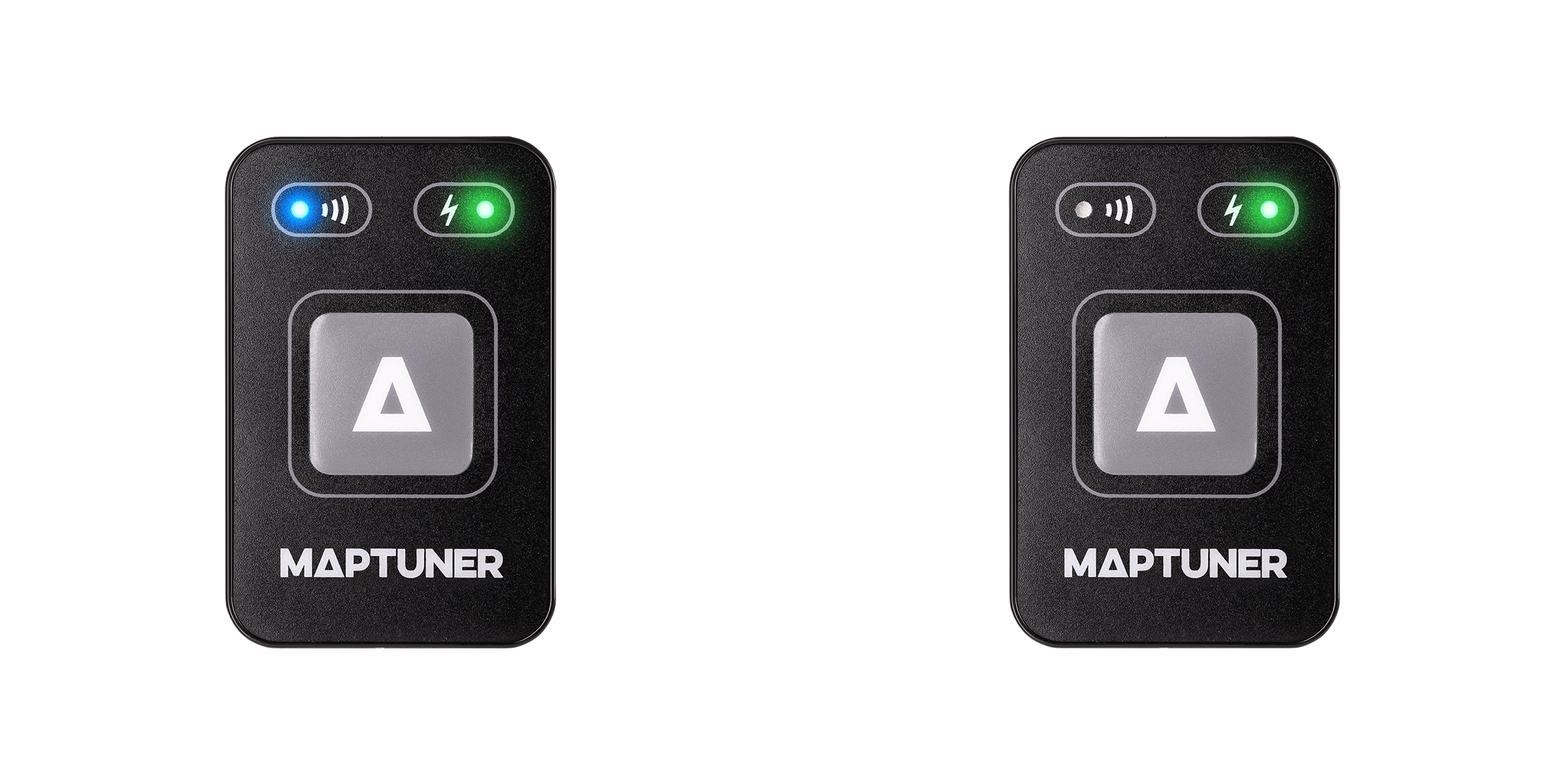
Applicable to Maptuner Nano NX3A and NB3A
Connect Maptuner to smartphone
Open the MyMaptuner App on your phone. If you don’t have the app installed on you phone, please visit Install the MyMaptuner App.
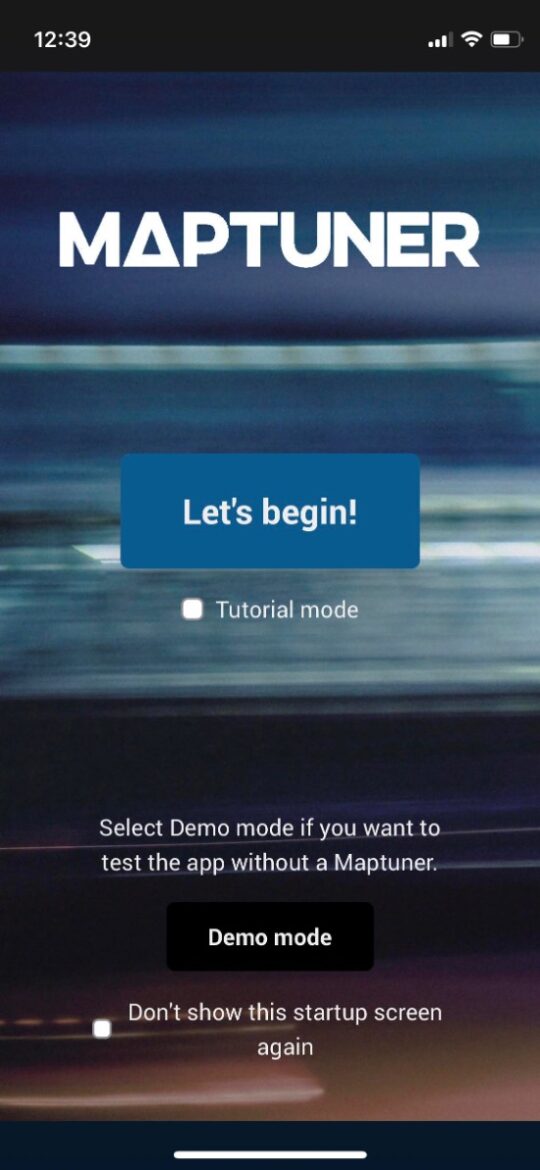
You will be met by this start-up screen.
- By selecting the checkbox Tutorial mode the app will enable on-screen guidelines on how to perform the first steps with connecting to your Maptuner and adding your vehicle. You can enable or disable tutorial at anytime from the settings in the app.
- Demo mode allow you to play around with the app in full functionality mode against factitious vehicles.
Press the button Let’s begin! to get started.
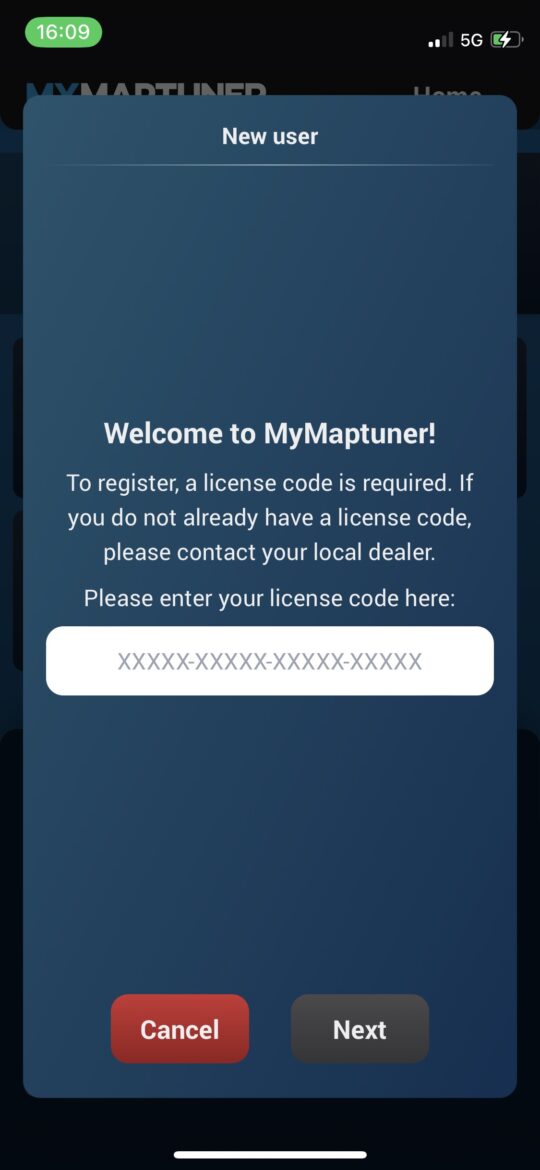
Log in with your existing account or create a New user using your license code.
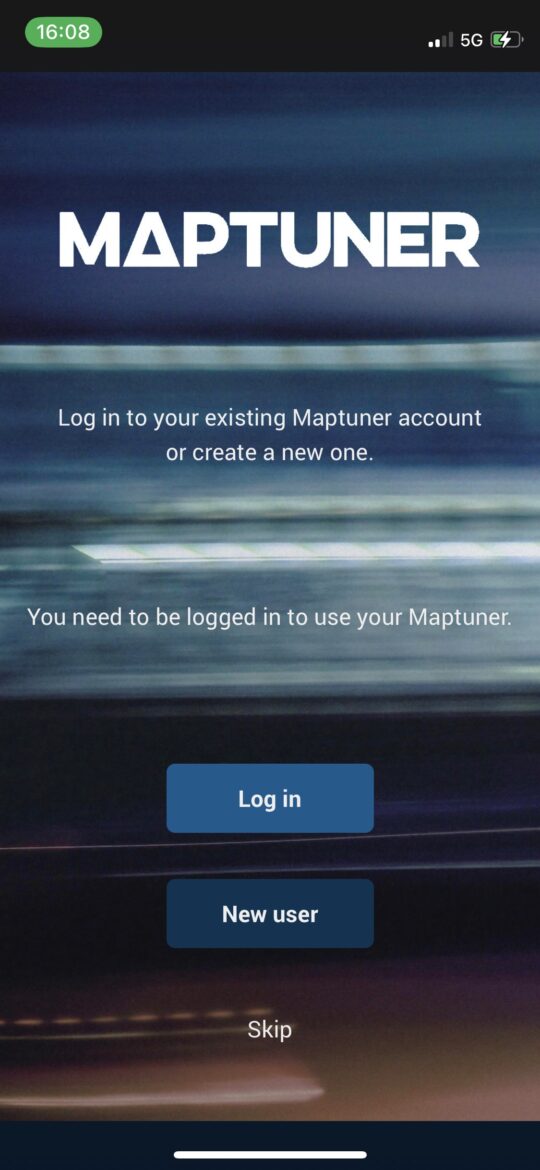
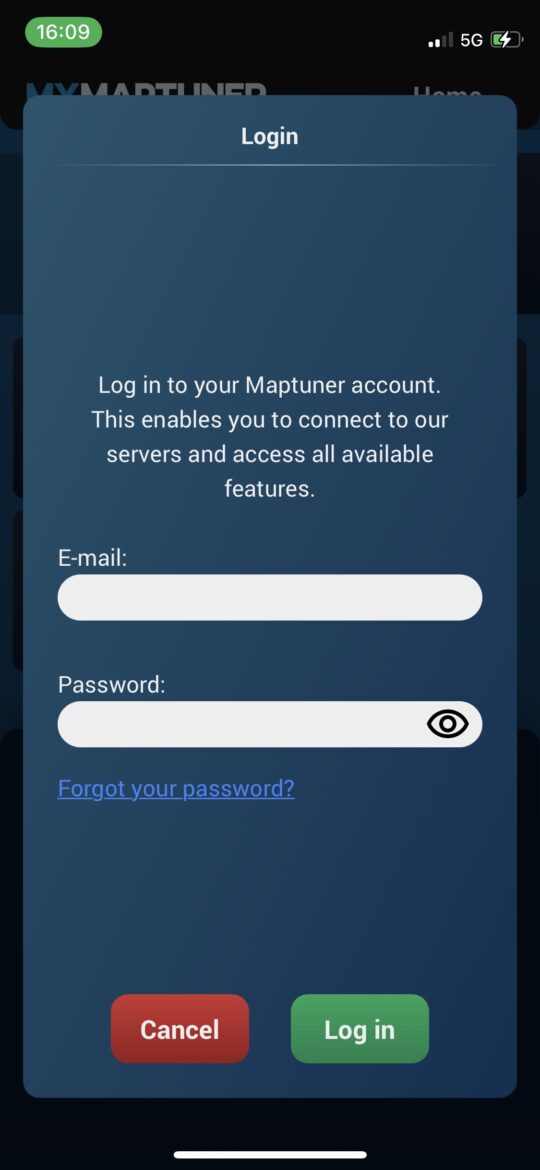
If you don’t have a license code, please contact your dealer.
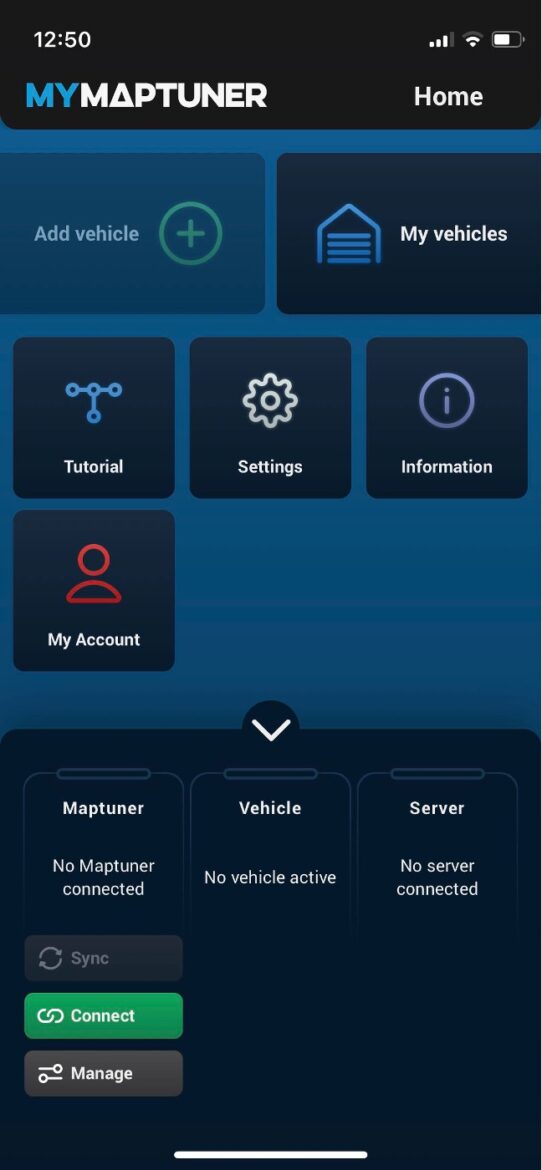
This is the Home screen. At the bottom you’ll find the Control Center. From here you can connect to you Maptuner device, see vehicle status and other information at a glance.
The Control Center is expanded by default but can be minimized by pressing the arrow on top of it.
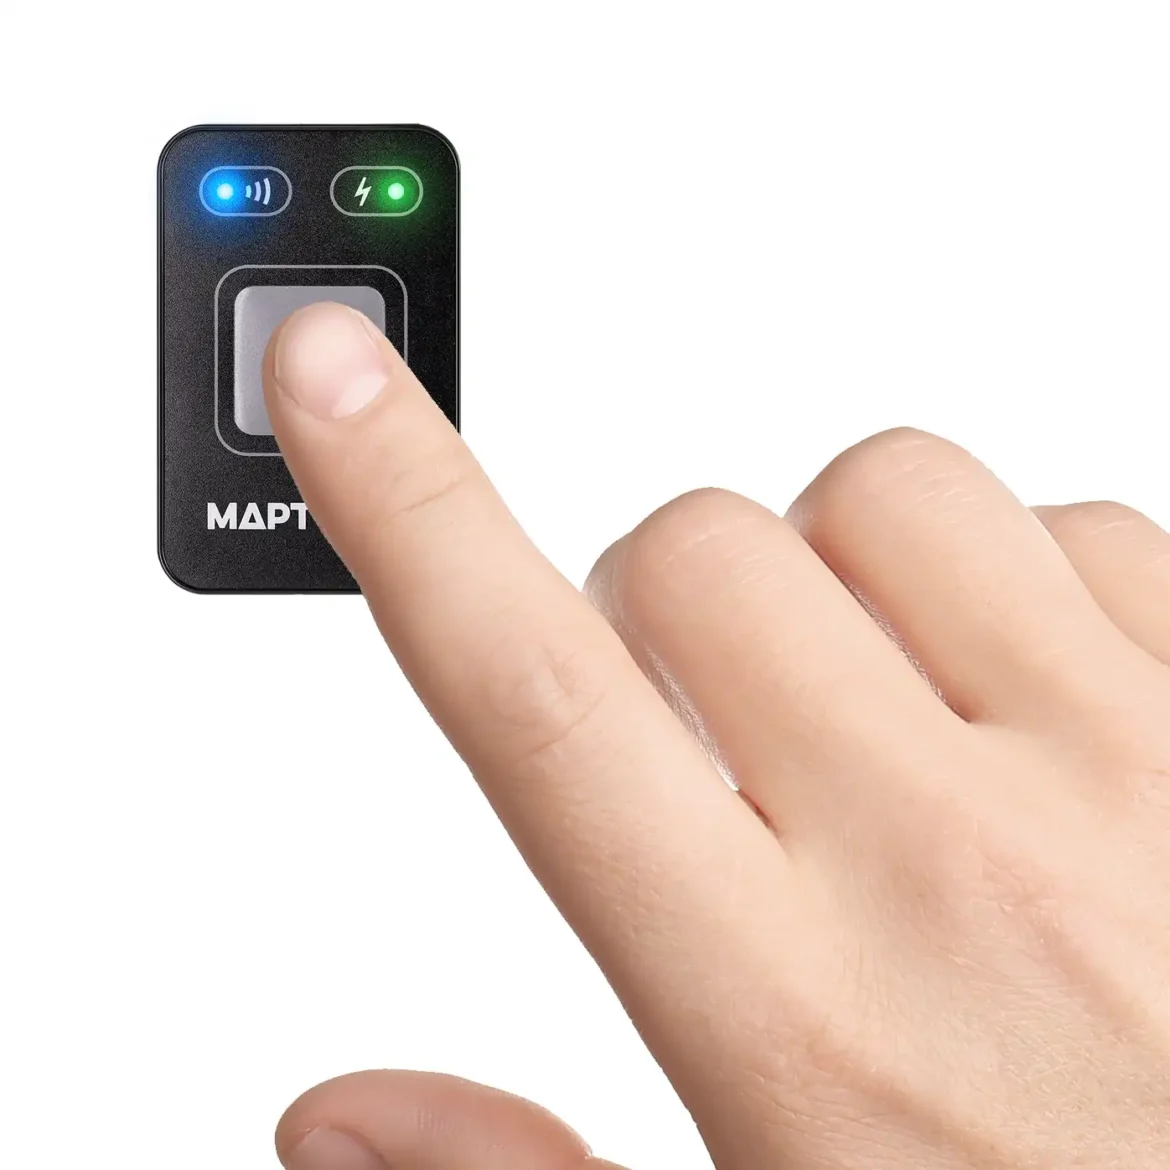
Before you can connect your Maptuner device to the MyMaptuner App, press and hold the button (approx. 2-3 sec) on the Maptuner until the top left LED starts flashing blue rapidly.
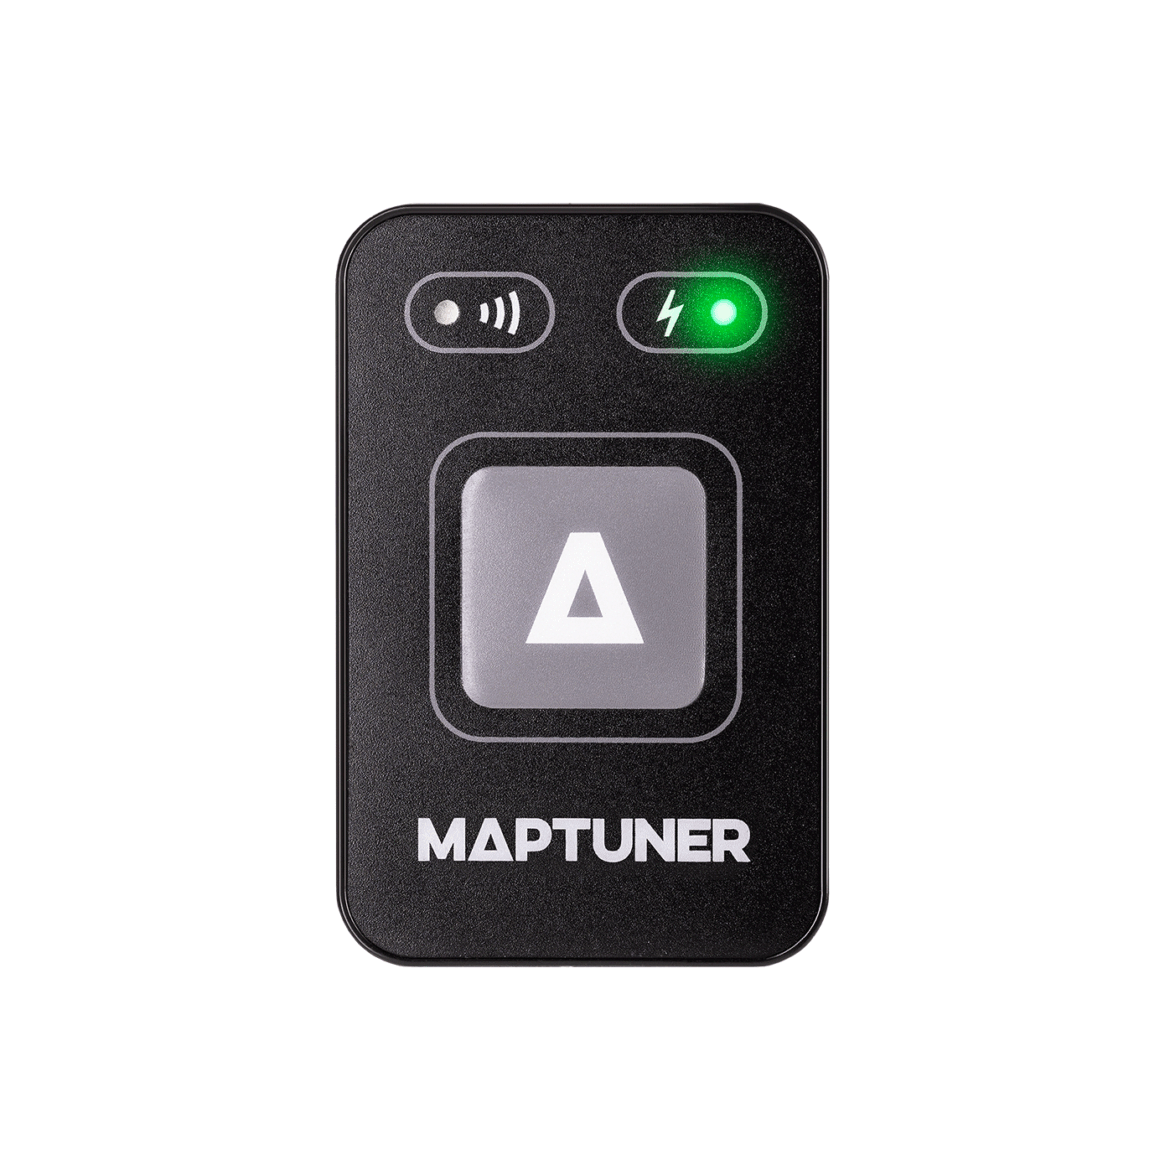
The Maptuner is now in pairing mode for 30 seconds.
Press the connect button in the Control Center and then select your Maptuner from the list that appears.
Can’t find you Maptuner in the list? Make sure the Maptuner is in pairing mode and try again. Otherwise contact your dealer for help and advice.
Important: Do not use your phone’s Bluetooth-manager to connect to your Maptuner. Only use the MyMaptuner App. If you already connected thru your phone’s Bluetooth-manager, please select ”forget device” and try again with the MyMaptuner App.
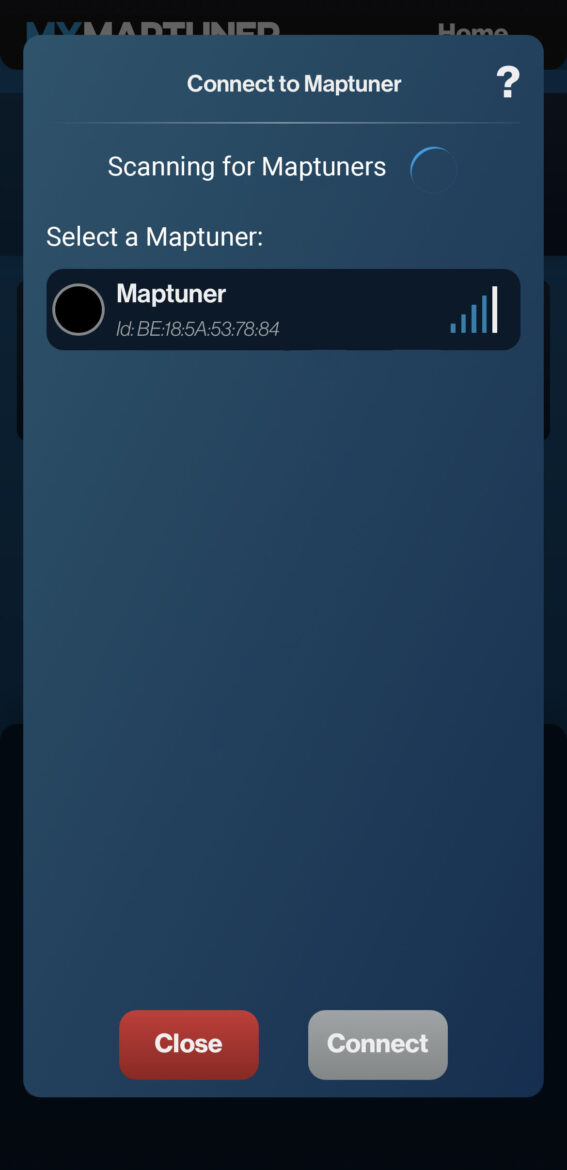
Your Maptuner should now be connected to the MyMaptuner App. This is illustrated by a green bar in the Control Center on top of the Maptuner area. The Maptuner device itself also has a slow flashing blue LED indicating that it’s connected wirelessly.
